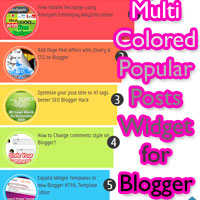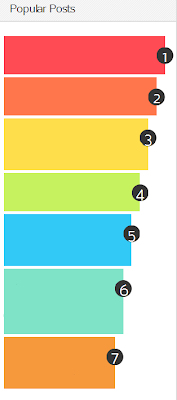

This Widget displays the Most viewed posts of your blog, that may be of Month or in Week or All the time. You can select how Popular posts are to be displayed.By default it shows an image(if the post has) and Title of Post followed by the content of post wrapped by 20-25 Words. This article is a tutorial to Style that Popular posts Widget to an Awesome Multi - colored Popular posts Widget. This trick is done using simple CSS3 rather than using complex JavaScripts. A great feature of this trick is each Post shown in each Flat UI color, so these colors catches your Blog visitor's eyes and they have the tendency to take that post even if the Post is not so good.


Sign in to your Blogger Account and Active Popular Posts Widget....
- First Add Popular post Widget to Blogger
- Go to Layout -> Select "Add a Gadget" and take Popular Posts Widget from the Widget List appear.
- Give Title of widget, select how the popular posts should be appeared(in Month,or Week or All time) and click Save
- Go to Template -> Edit HTML, Find ( Ctrl + F ) ]]></b:skin>
- Copy the following code and Paste just above it
- Click on Preview Template (You can see the template without saving)
- Save the Template.
If any problems with this trick don't hesitate to ask, do comment here...

Post a Comment Blogger Facebook